
If you’re like me, your freezer is filled to overflowing and you can’t figure out where to put another jar of canned food. So, when I had the chance to pick up a dehydrator on sale, I did. And boy was I surprised. Not only did I learn how easy it was to dehydrate but how economical and space saving it was.
Benefits to Drying Food
Drying is the oldest method of preserving food. Not only does it work well when it comes to maintaining freshness and nutrition, but it also has the benefit of taking up less space.
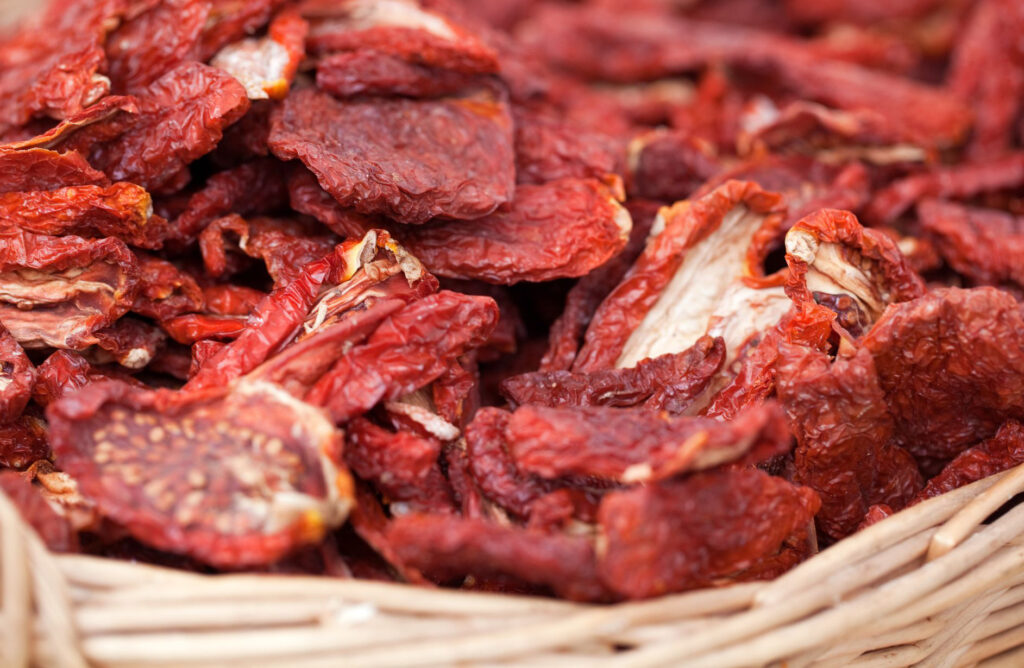
I’ve dried 20 pounds of apples that fit nicely into a gallon zip lock bag. I’ve dried mushrooms, potatoes, berries, carrots, green beans, onions, garlic, peppers, and herbs. All of them took up a lot less space and I was able to use them in cooking without issues.
Also read: Which Foods Have the Longest Shelf Life? Pantry Stockpiling Tips You Need
The only thing I wished was that I had dried more food. You can also make jerky, granola, and other convenience foods which makes it an ideal method to preserving food. Basically, any fruit or vegetable you can freeze, you can dry. You can also dry mushrooms and herbs.
You’ll really appreciate your dehydrator when you make packets of dehydrated instant soup or maybe a skillet dinner. Not only is it a time saver, but it also saves you money in the long run. You can use drying food to make healthy organic snacks or preserve your harvest for the winter.
Solar, Oven, or Dehydrator?
If you live in a sunny and relatively dry climate and you’re handy, you may want to build your own solar dryer. Once you have it set up, you use no electricity, making it an extremely cheap way of preserving. The downside is that it can take longer to dry than a dehydrator.
You can use an oven to dry some foods, but given the cost of electricity and how long you must have your oven on, it isn’t cost effective. The best way to dry food if you use an appliance is to spring for a dehydrator.
Food Preparation
A good rule of thumb is that vegetables need to be lightly blanched before dried. Fruit needs to be soaked in a water and ascorbic acid solution for about 5 minutes (I grind up vitamin C tablet and mix them with water) to prevent browning.

Dehydrating
Beyond that simple preparation, you put your food on the drying trays, set the temperature of the dehydrator and check it when it’s nearly done around the time the recipe suggests. I’ve noticed that there’s quite a bit of varying when it comes to when the food is actually done. You need to be sure that all the moisture is gone or you risk mold growing on your food.
The University of Illinois at Urbana-Champaign’s Cooperative Extension Service has recommendations for drying different foods. They recommend starting the temperature between 150 and 160 degrees Fahrenheit and lowering the temperature toward the end of the drying process to prevent scorching.
If you need recipes or would like more information on drying check out the NationalCenterforHomeFoodPreservation. They have many great recipes that will help get you started.
Author John Miler
![]()
Self-sufficiency and Preparedness solutions recommended for you:
Survival MD (Knowledge to survive any medical crisis situation)
The Lost Super Foods (126+ Survival Foods and Tips for Your Stockpile)
BulletProof Home (A Prepper’s Guide in Safeguarding a Home)